
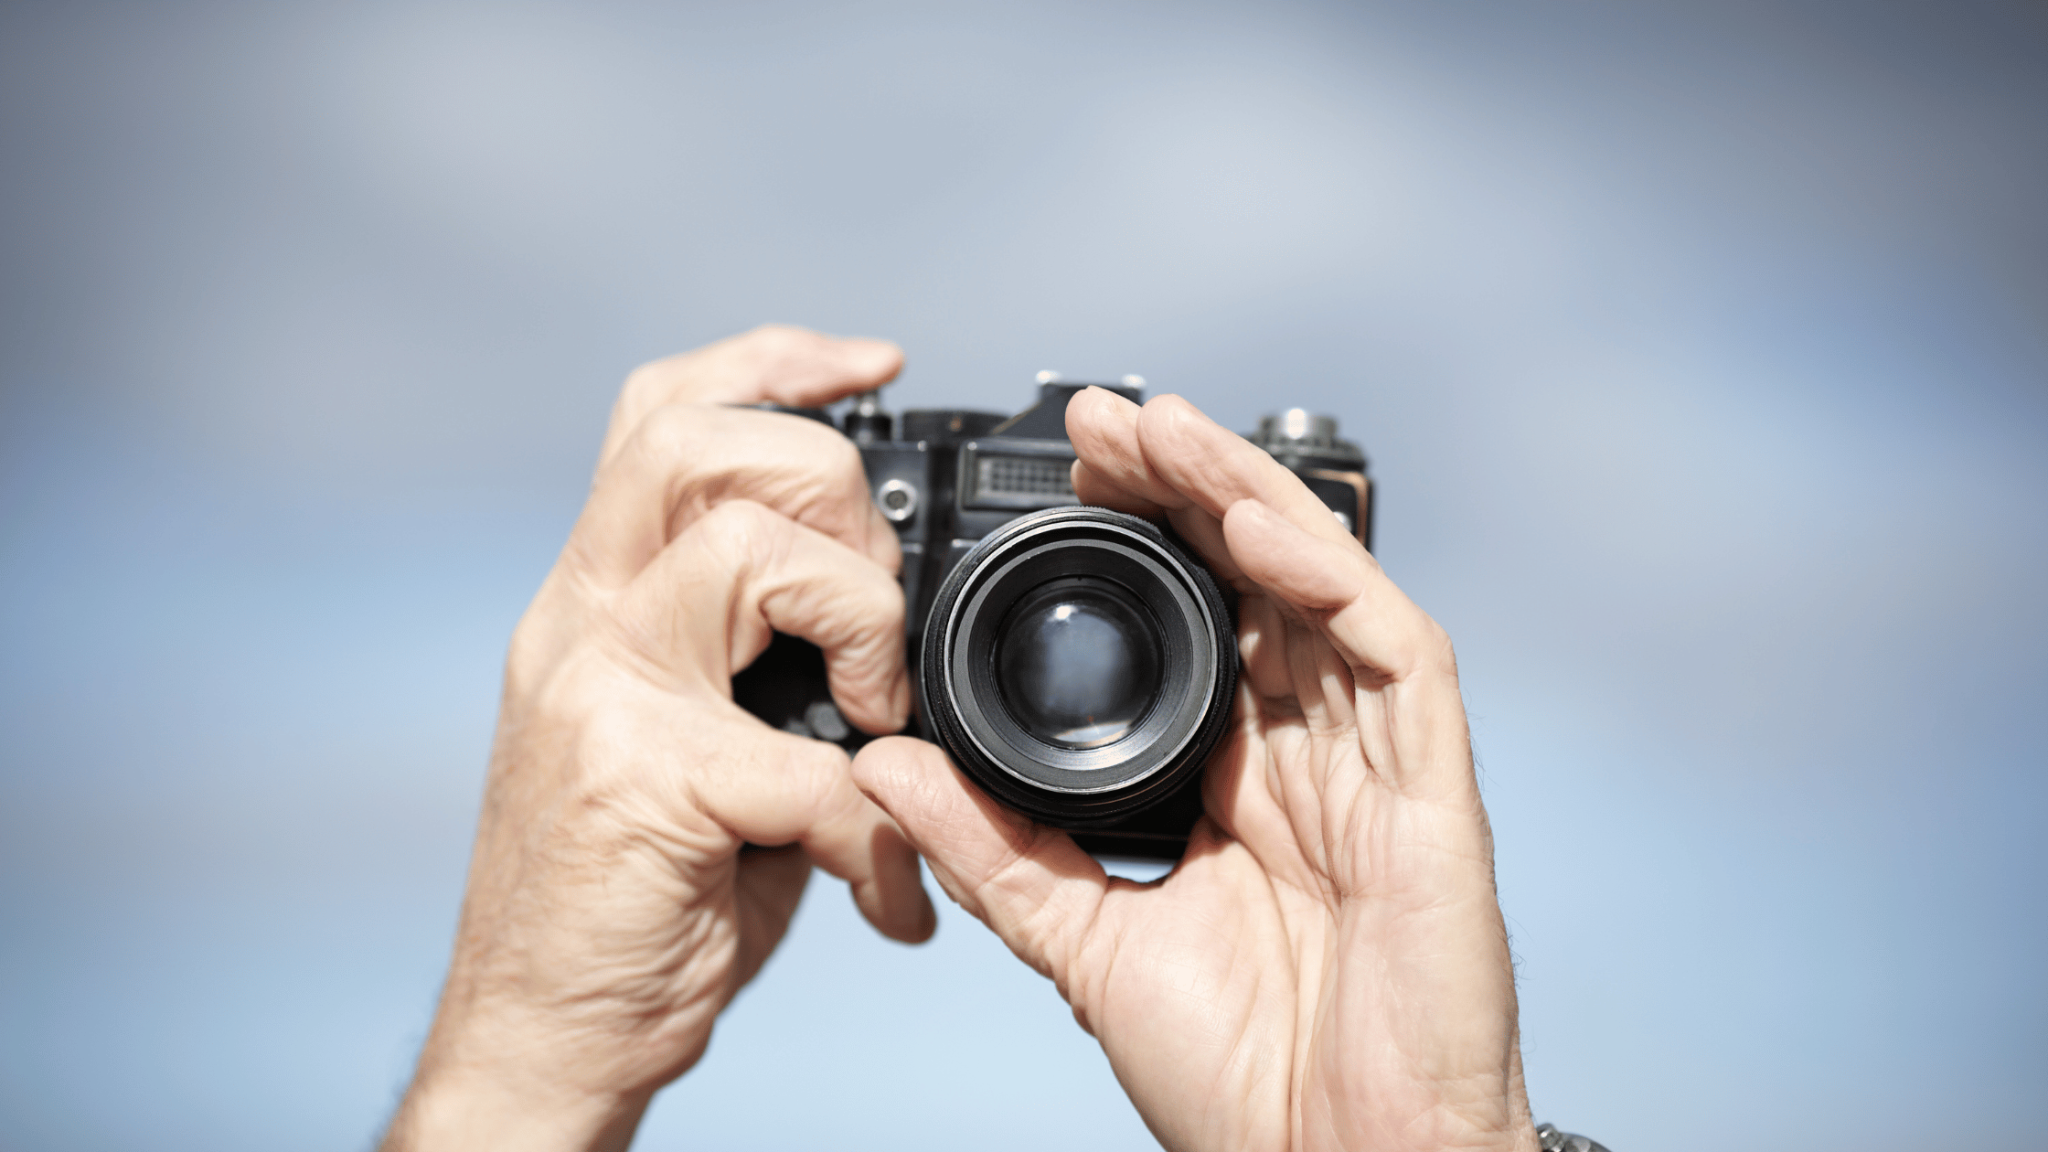
From showcasing proper occlusion to highlighting dental work, high-quality dental photography illuminates the details that matter most. A well-placed mirror and strategic lighting can transform an ordinary snapshot into a professional-grade image that elevates your dental website. In this article, we’ll explore the techniques and equipment you need to master dental photography and enhance your online presence.
Key Takeaways
- Dental photography is essential for showcasing work and attracting new patients
- Proper camera settings and equipment are crucial for capturing high-quality dental images
- Dental photos improve patient communication, treatment planning, and case acceptance rates
- Organize and edit dental images carefully to create a professional portfolio
- Embrace new technologies like AI and 3D imaging to enhance dental photography practices
Introduction to dental photography
Dental photography is a powerful tool for showcasing your work and attracting new patients to your practice. By mastering the art of capturing high-quality dental images, you’ll elevate your website’s visual appeal and demonstrate your expertise. The key to exceptional dental photography lies in understanding the intricate balance between lighting, camera settings, and composition.
To achieve professional-looking results, you’ll need to familiarize yourself with essential camera functions like shutter speed, aperture, and flash settings. These elements work together to create crisp, well-lit photographs that accurately represent your patients’ dental conditions and treatments. Proper depth of field is crucial for ensuring that all relevant details are in focus, from the front teeth to the back molars.
Experiment with different angles, lighting techniques, and camera settings to find the perfect combination for your unique needs. Remember, each photograph you capture is an opportunity to showcase your skills and build trust with potential patients who visit your dental website.
Importance of Dental Photography
Wielding your camera, lens, and ring flash, you’ll capture stunning images that serve multiple purposes. Dive into macro photography techniques to document cases accurately, plan treatments meticulously, and communicate clearly with patients. As you fine-tune your aperture settings, you’ll create compelling visuals that not only educate but also boost case acceptance rates. These high-quality photos become powerful marketing tools, showcasing your expertise and attracting new patients to your thriving dental practice.
Accurate Documentation and Treatment Planning
Master accurate documentation and treatment planning through dental photography. Adjust your Nikon’s film speed, exposure, and shutter speed to capture crystal-clear images for orthodontics and other procedures. These high-quality photos serve as invaluable references, allowing you to track progress and plan treatments with precision:
- Document initial conditions
- Monitor treatment progress
- Compare before-and-after results
- Collaborate with specialists
- Create detailed treatment plans
Enhanced Patient Communication and Education
Use these visuals to educate patients about their tooth conditions and treatment options, enhancing their understanding and trust. Showcase before-and-after photos on your website as a powerful form of advertising, attracting new patients and encouraging existing ones to consider additional services. Remember, a picture is worth a thousand words – and potentially a swipe of a credit card:
- Explain complex procedures visually
- Boost patient confidence in treatment plans
- Demonstrate the value of your services
- Increase case acceptance rates
- Build stronger patient-dentist relationships
Increased Case Acceptance
Boost case acceptance rates by integrating dental photography into your workflow. Your mirrorless camera captures jpeg images that vividly illustrate patients’ dental conditions, making complex treatments easier to understand. Combine these clinical shots with portrait photography to create a personal connection, enhancing communication and trust. This visual approach transforms abstract concepts into tangible realities, empowering patients to make informed decisions about their oral health:
- Showcase before-and-after transformations
- Illustrate treatment options visually
- Highlight the benefits of recommended procedures
- Address patient concerns with visual evidence
- Build confidence in your expertise and skills
Marketing and Practice Promotion
Capture stunning images with precise magnification and autofocus, showcasing your expertise and attracting new patients. Share these high-quality photos on your website and social media platforms, providing valuable information about your services while maintaining perfect color balance. Even your smartphone can become a powerful tool for quick, on-the-go shots that keep your online presence fresh and engaging.
Essential Dental Photography Equipment
Equip yourself with the right tools to capture stunning dental images. Invest in a macro lens for close-up clarity, and pair it with a ring flash or twin flash to eliminate shadows. Don’t forget retractors, mirrors, and contrasters – these seemingly simple tools make a world of difference in showcasing your work. As you master this technology, you’ll create compelling visuals for patient education and marketing, setting your practice apart in a competitive field.
Camera Body
Choose a camera body that pairs seamlessly with your lens for capturing stunning dental images. While DSLRs offer versatility for general and cosmetic dentistry shots, mirrorless cameras excel at lip close-ups and intricate details. Prioritize a camera with manual controls and RAW file capability to ensure the highest quality digital image for your dental website.
Macro Lens
Invest in a high-quality macro lens to capture intricate details of teeth and gums. This specialized lens allows you to focus closely on individual molars, revealing textures and nuances that enhance your dental photo. As you peer through the viewfinder, you’ll appreciate the lens’s ability to showcase your precise design work, even in tight spaces. While mobile phones have improved their close-up capabilities, a dedicated macro lens remains unmatched for professional-grade dental photography:
- Magnifies tiny details for accurate documentation
- Produces sharp, clear images of dental structures
- Allows for consistent focus across the frame
- Enhances depth of field control
- Enables proper framing of intraoral shots
Ring Flash or Twin Flash
Illuminate your dental shots with precision using a ring flash or twin flash. These specialized lighting tools eliminate harsh shadows, ensuring every angle of your patient’s smile is captured in vibrant color. Whether you’re shooting from the dental chair or standing, these flashes provide consistent, even lighting that showcases your work in the best possible light.
- Choose ring flash for all-around illumination
- Opt for twin flash for more directional control
- Adjust flash intensity to avoid overexposure
- Position flash to minimize reflections on teeth
- Use diffusers for softer, more natural-looking light
Retractors, Mirrors, and Contrasters
Retractors, mirrors, and contrasters work in harmony to showcase your digital photography skills and create stunning images for your dental website. High-quality glass mirrors and well-designed retractors are crucial for capturing clear, detailed shots that set your practice apart.
Dental Photography Techniques and Best Practices
Position patients for standard views, capturing every angle from the cheek to the molars. Frame your shots with precision, ensuring each image tells a story of your skill and experience. Dial in the perfect camera settings, whether you’re using a professional DSLR or a high-end camera phone. As you fill your SD card with stunning visuals, you’ll create a portfolio that sets your practice apart and attracts new patients eager to experience your expert care.
Standard Views and Positioning
Master standard dental photography views to showcase your expertise and patient health outcomes. Position your camera to capture clear images of anterior, lateral, and occlusal views, ensuring every metal restoration and natural tooth structure is accurately represented. Remember, minimal editing preserves the authenticity of your work, allowing potential patients to see your skills firsthand.
Image Composition and Framing
Focus on capturing the perfect field of view, balancing aesthetics with clinical accuracy to create compelling visuals. As you frame each shot, consider the rule of thirds to guide your patient’s eye and showcase your expertise in the most visually appealing way possible.
Camera Settings and Focus
Master your camera settings to capture stunning dental images that showcase your expertise in crown work and other procedures. Adjust aperture, shutter speed, and ISO for optimal exposure, while fine-tuning your focus to highlight intricate details. With practice, you’ll create professional-quality photos that elevate your dental website and attract new patients:
- Set a small aperture (high f-number) for increased depth of field
- Use a fast shutter speed to minimize camera shake
- Adjust ISO for proper exposure without introducing noise
- Employ manual focus for precise control over sharpness
- Utilize spot metering to accurately expose dental surfaces
Post-Processing and Image Management
Organize your files meticulously, ensuring quick access for patient consultations and payment processing. As you refine your workflow, you’ll transform your camera from a simple tool into a powerful asset for showcasing your expertise and attracting new patients to your practice.
Editing Digital Dental Photographs
Refine your dental photographs with careful editing to enhance visibility and correct any motion blur. Adjust contrast and color balance to ensure plastic restorations blend seamlessly with natural teeth, creating a cohesive smile. Be sure to edit images to highlight the most important details, ensuring they accurately showcase your work. Train your dental assistant’s eye for detail, as they’ll often assist in selecting the best images for your website and patient education materials.
Organizing and Storing Digital Dental Images
Create a logical folder structure that allows quick access to specific cases, ensuring you can easily reference past work when discussing treatment options with patients. As you store these high-quality shots, consider using cloud-based solutions that offer secure backups and easy sharing capabilities, allowing you to access your portfolio even when you’re away from the office.
Emerging Trends and Future Developments in Digital Dental Photography
Artificial Intelligence and Image Recognition
AI-powered image recognition software can instantly analyze your Nikkor lens captures, identifying potential oral hygiene issues or evaluating the fit of a mouthguard with unprecedented accuracy. As you credit your laboratory for their excellent work, these advanced algorithms will help you streamline diagnostics and treatment planning, freeing up more time to focus on patient care.
Advances in Camera Technology
Advanced zoom lenses now offer unprecedented image quality, allowing you to capture intricate details in periodontology with ease. As sensor technology improves, you’ll achieve superior depth of focus even in tight spaces, ensuring every aspect of your patient’s oral health is documented with precision.
- Explore mirrorless cameras for compact, powerful imaging
- Utilize high-resolution sensors for unparalleled detail
- Experiment with smart autofocus systems for rapid, accurate shots
- Leverage in-camera image stabilization for sharper handheld photos
- Integrate wireless connectivity for seamless image transfer and sharing
3D Imaging and Augmented Reality
Select advanced scanning devices to capture precise 3D models of patients’ teeth, enabling you to visualize treatment plans with unprecedented clarity. As you bounce between patient consultations, use AR-enabled mobile devices to overlay digital mock-ups onto real-time views, helping patients envision their new smiles and boosting case acceptance rates.
Tele-Dentistry and Remote Consultations
Capture high-quality clinical images using your Canon camera to guide patients through digital smile design consultations from afar. As you master this new frontier, you’ll find innovative ways to serve patients who can’t visit in person, while still maintaining the personal touch that sets your practice apart.
Embracing the Future of Digital Dental Photography
Embrace the future of digital dental photography to revolutionize your practice. As a DDS, you’ll find that investing in cutting-edge equipment not only enhances your clinical skills but also attracts tech-savvy patients who appreciate modern dental practices.
Stay ahead of the curve by continuously updating your dental photography techniques and tools.
Remember, exceptional dental photography is more than just documentation—it’s a powerful marketing tool. By mastering these skills, you’ll create a visual portfolio that speaks volumes about your commitment to excellence, drawing in new patients and elevating your practice to new heights.